
A Beginner's Guide to Squarespace 7.1
In this tutorial, I’ll show you how to easily make changes to your Squarespace template. If you already know the basics of the platform, this instructions may not be super helpful. But if you’re new to Squarespace, these steps will help you get comfortable. So, let’s get started :)
Navigating the Squarespace Dashboard
When you first log into your Squarespace Account Dashboard, it will look something like this:
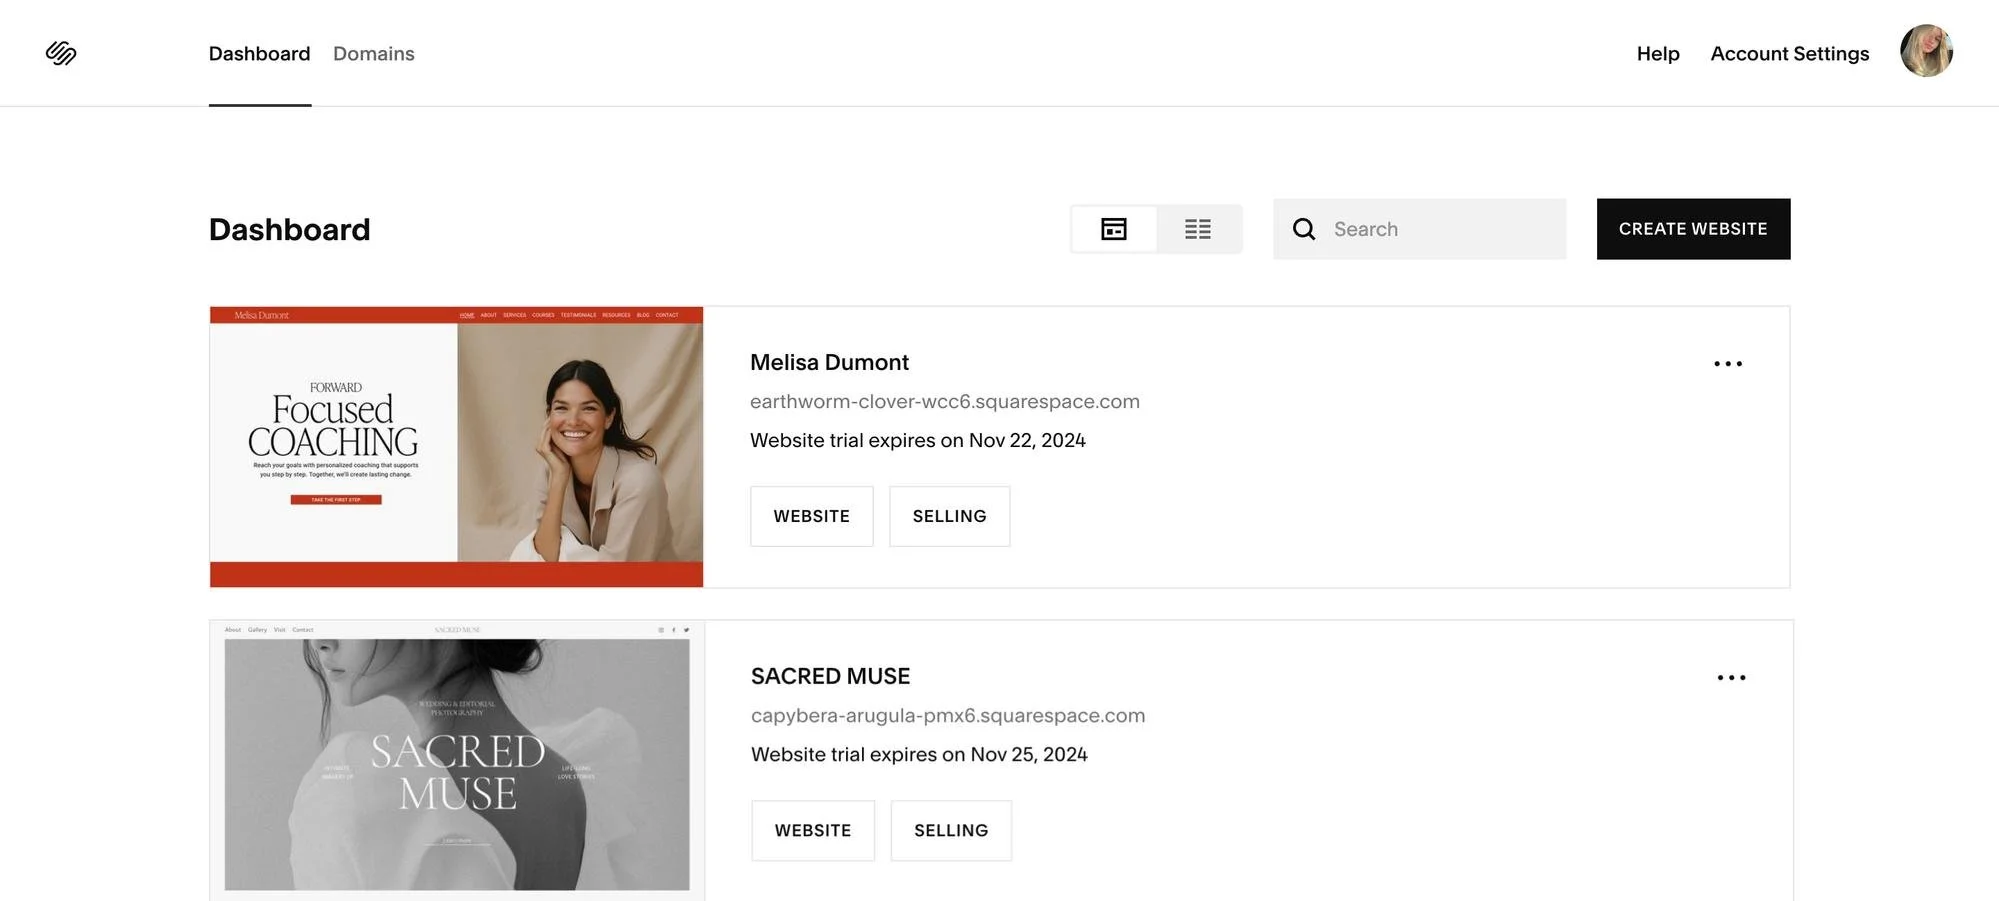
Just below, you’ll find a list of all the websites linked to your Squarespace account — whether you started them yourself or were added as a contributor. Simply click on any website in the list to open the editor.
You'll also see extra details about each site, like the trial expiration or subscription renewal dates, any tags you’ve added, and connected domains.
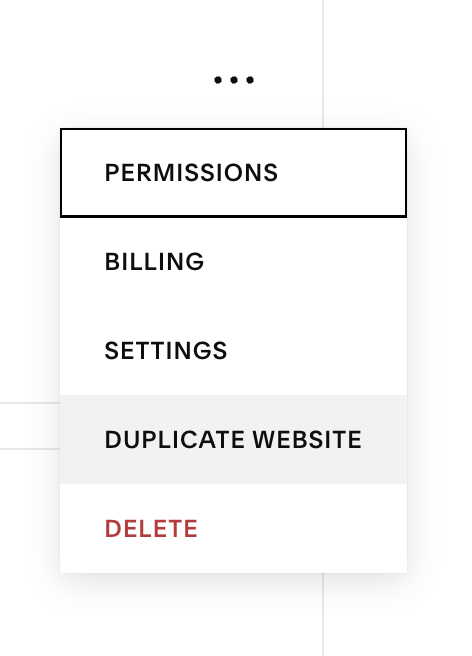
When you click on the three dots next to your website, a dropdown menu will appear. From there, you can access additional settings, duplicate your site to create a backup, or pin it to the top of your dashboard if you’d like.
Please note: if you duplicate the site and upgrade or pay for a plan on the copied version, the automatic 25% Squarespace discount you receive through me as a Platinum Partner will not apply!
For this reason, I strongly recommend using and upgrading the version of the site I deliver to you, to ensure your discount is applied correctly.
Navigating the Squarespace Dashboard

4. Go back to your Squarespace editor and delete all the code in the Custom CSS box. Then click Save.
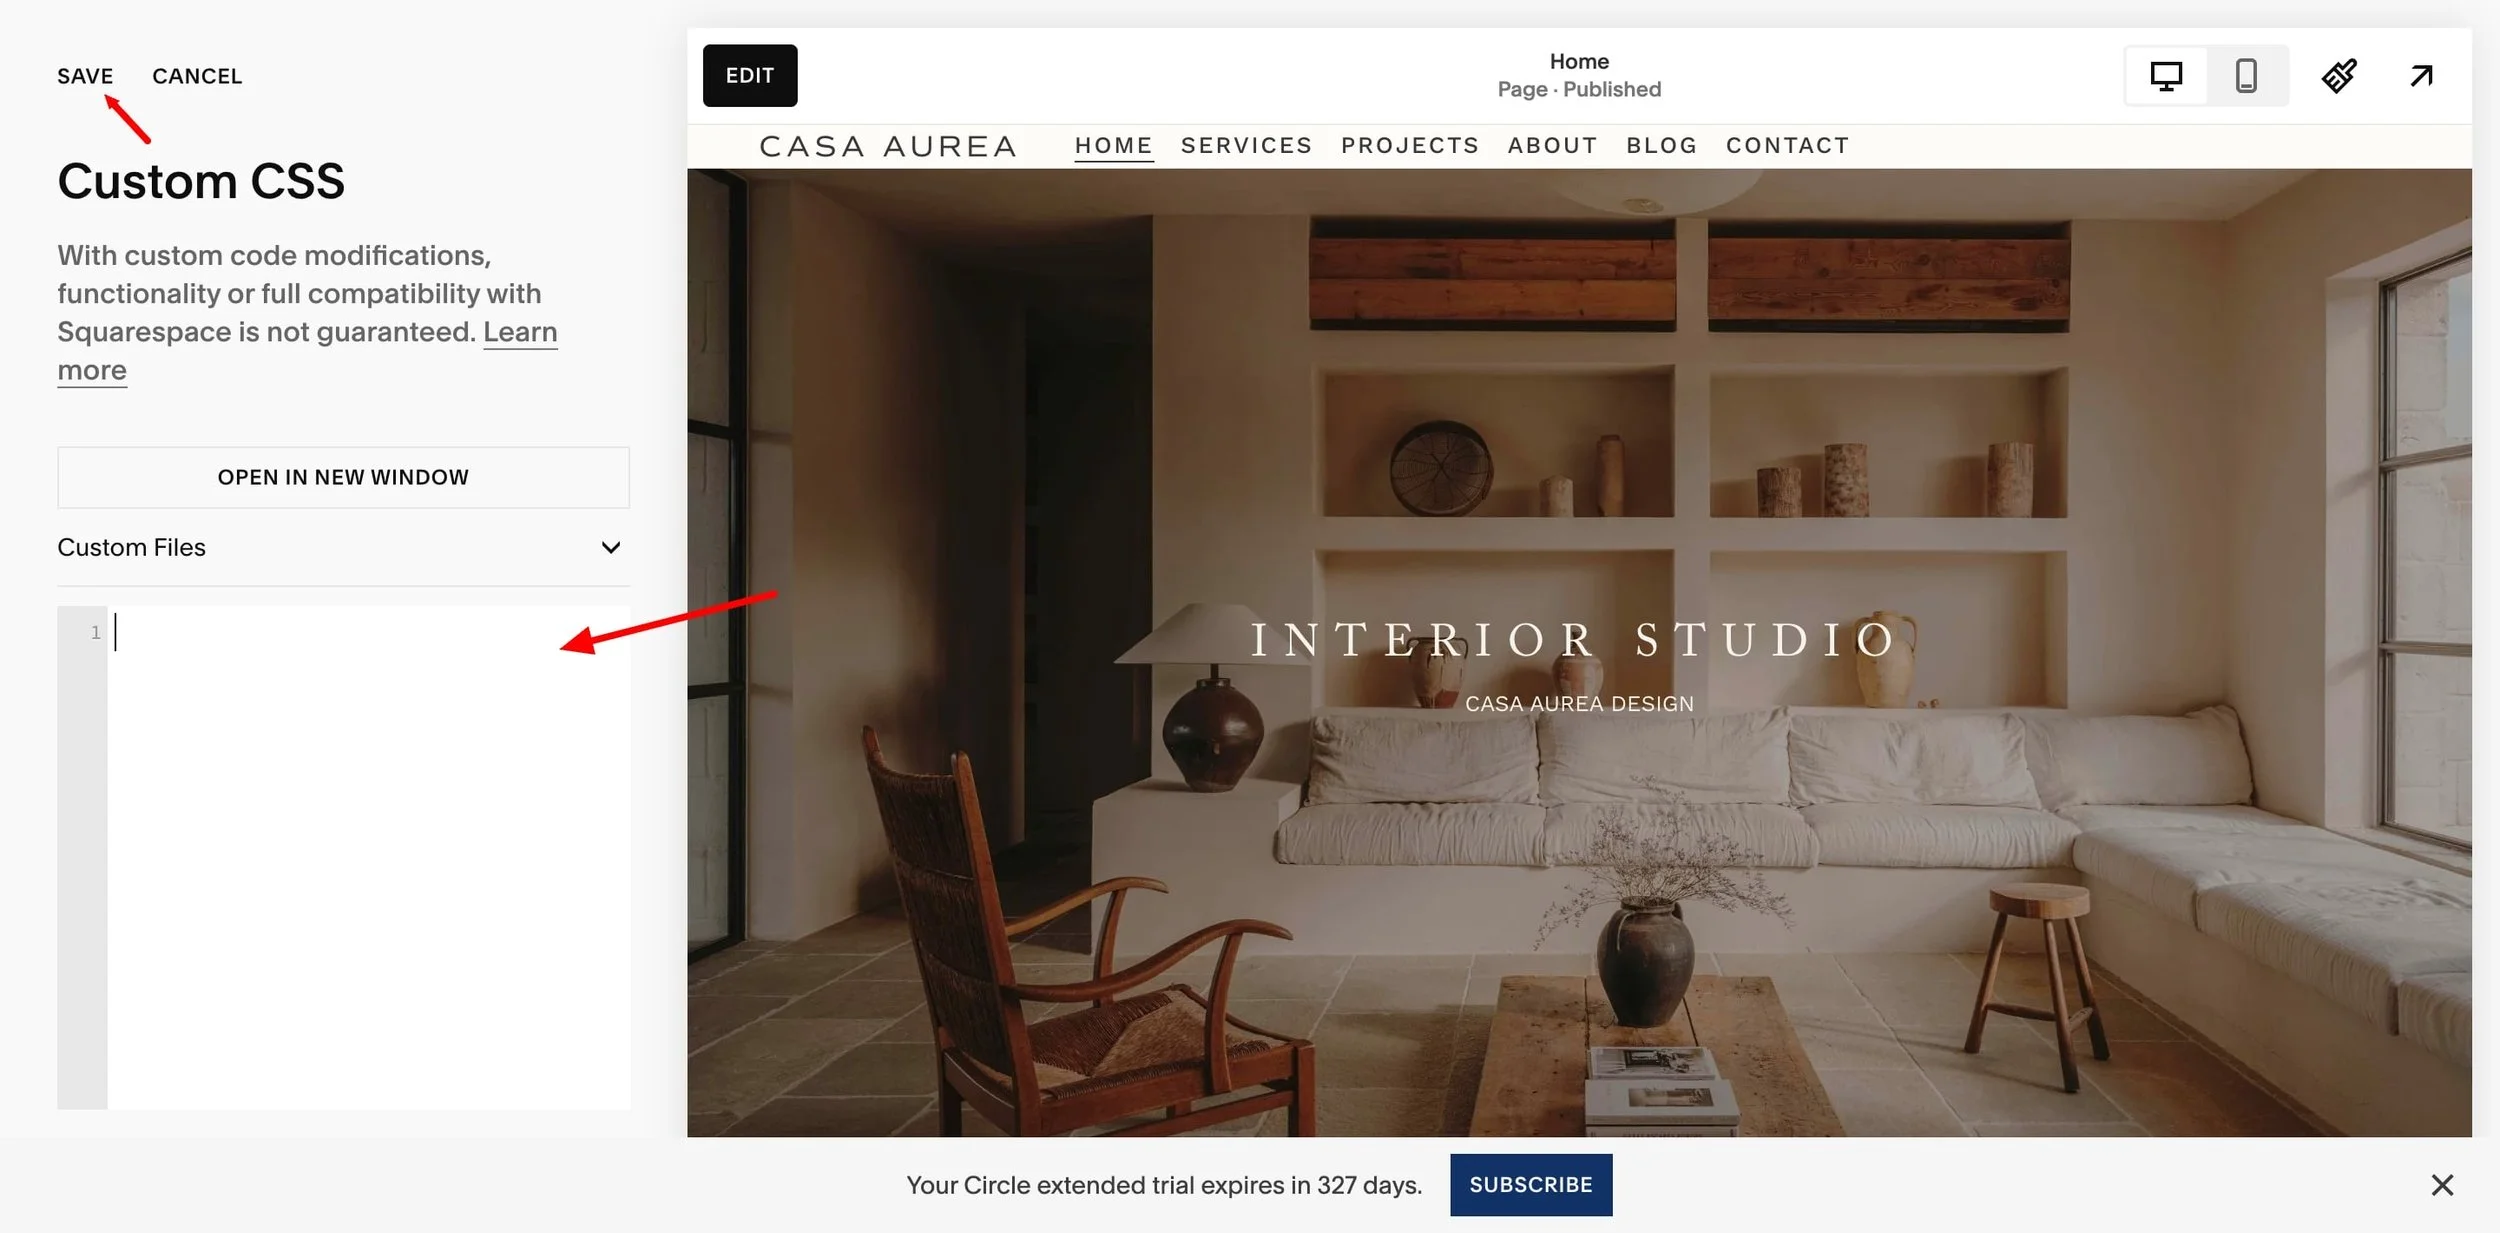
5. Refresh your page.
6. Now make all the changes you want to your template – upload your logo, set up menu items and pages, replace text, and adjust content.
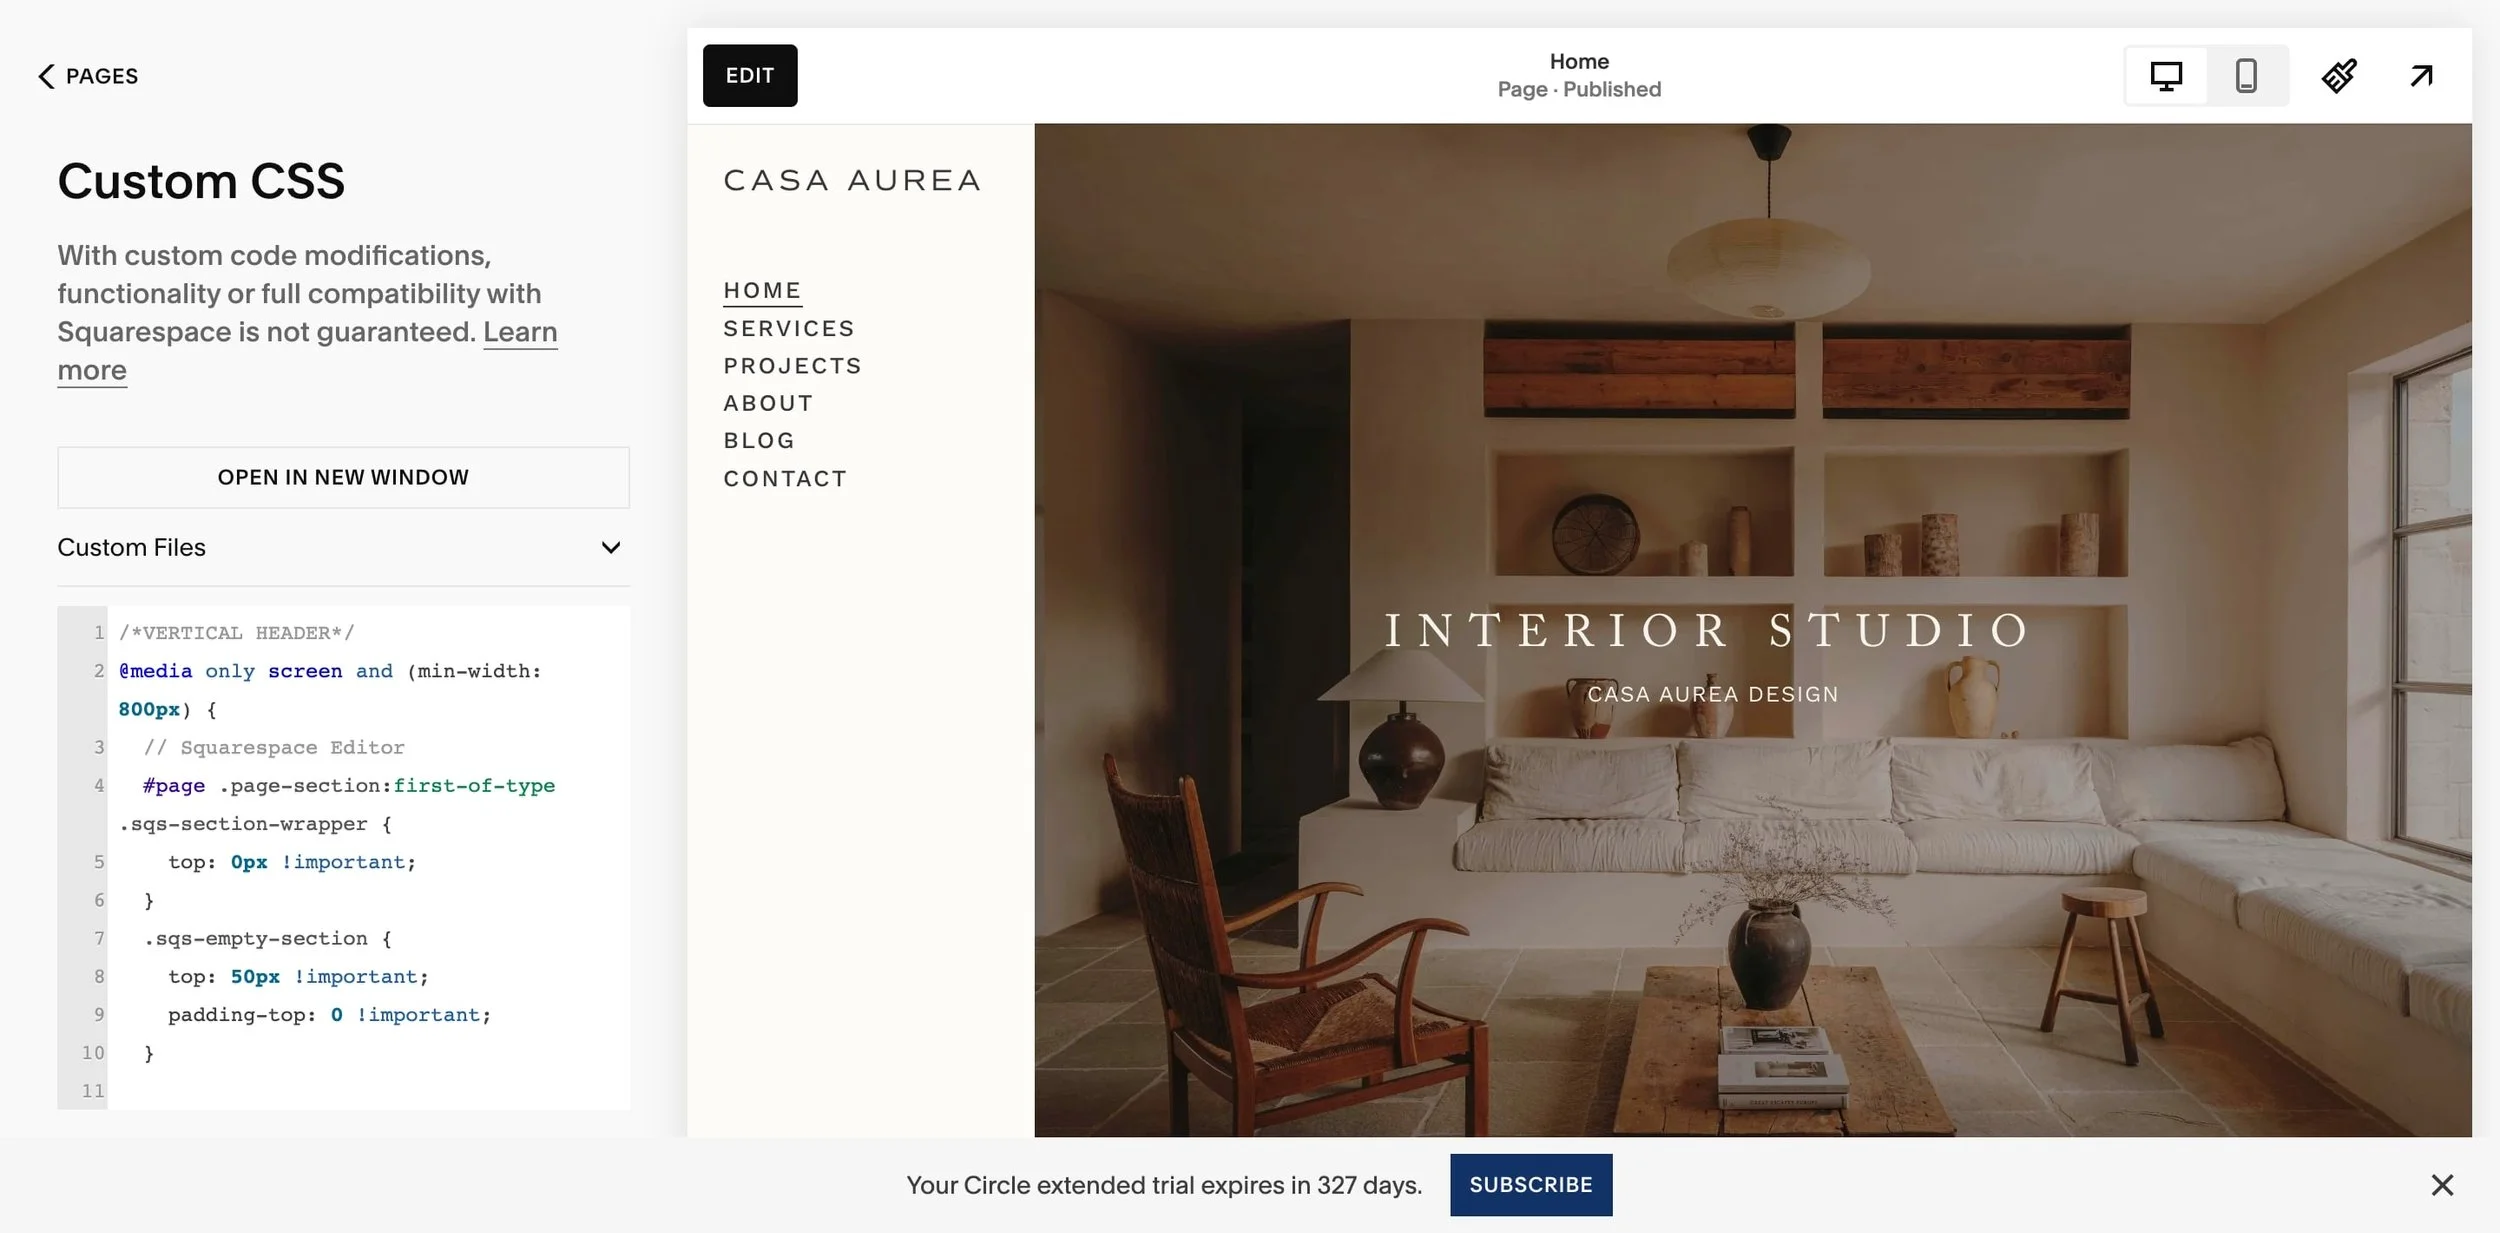
7. Once you’re happy with your changes, go back to Custom CSS and paste back the code you saved earlier. Click Save and refresh your page. Done!
If you have any questions or need help, feel free to contact me anytime at: hello@thesoftvoice.com ❤️